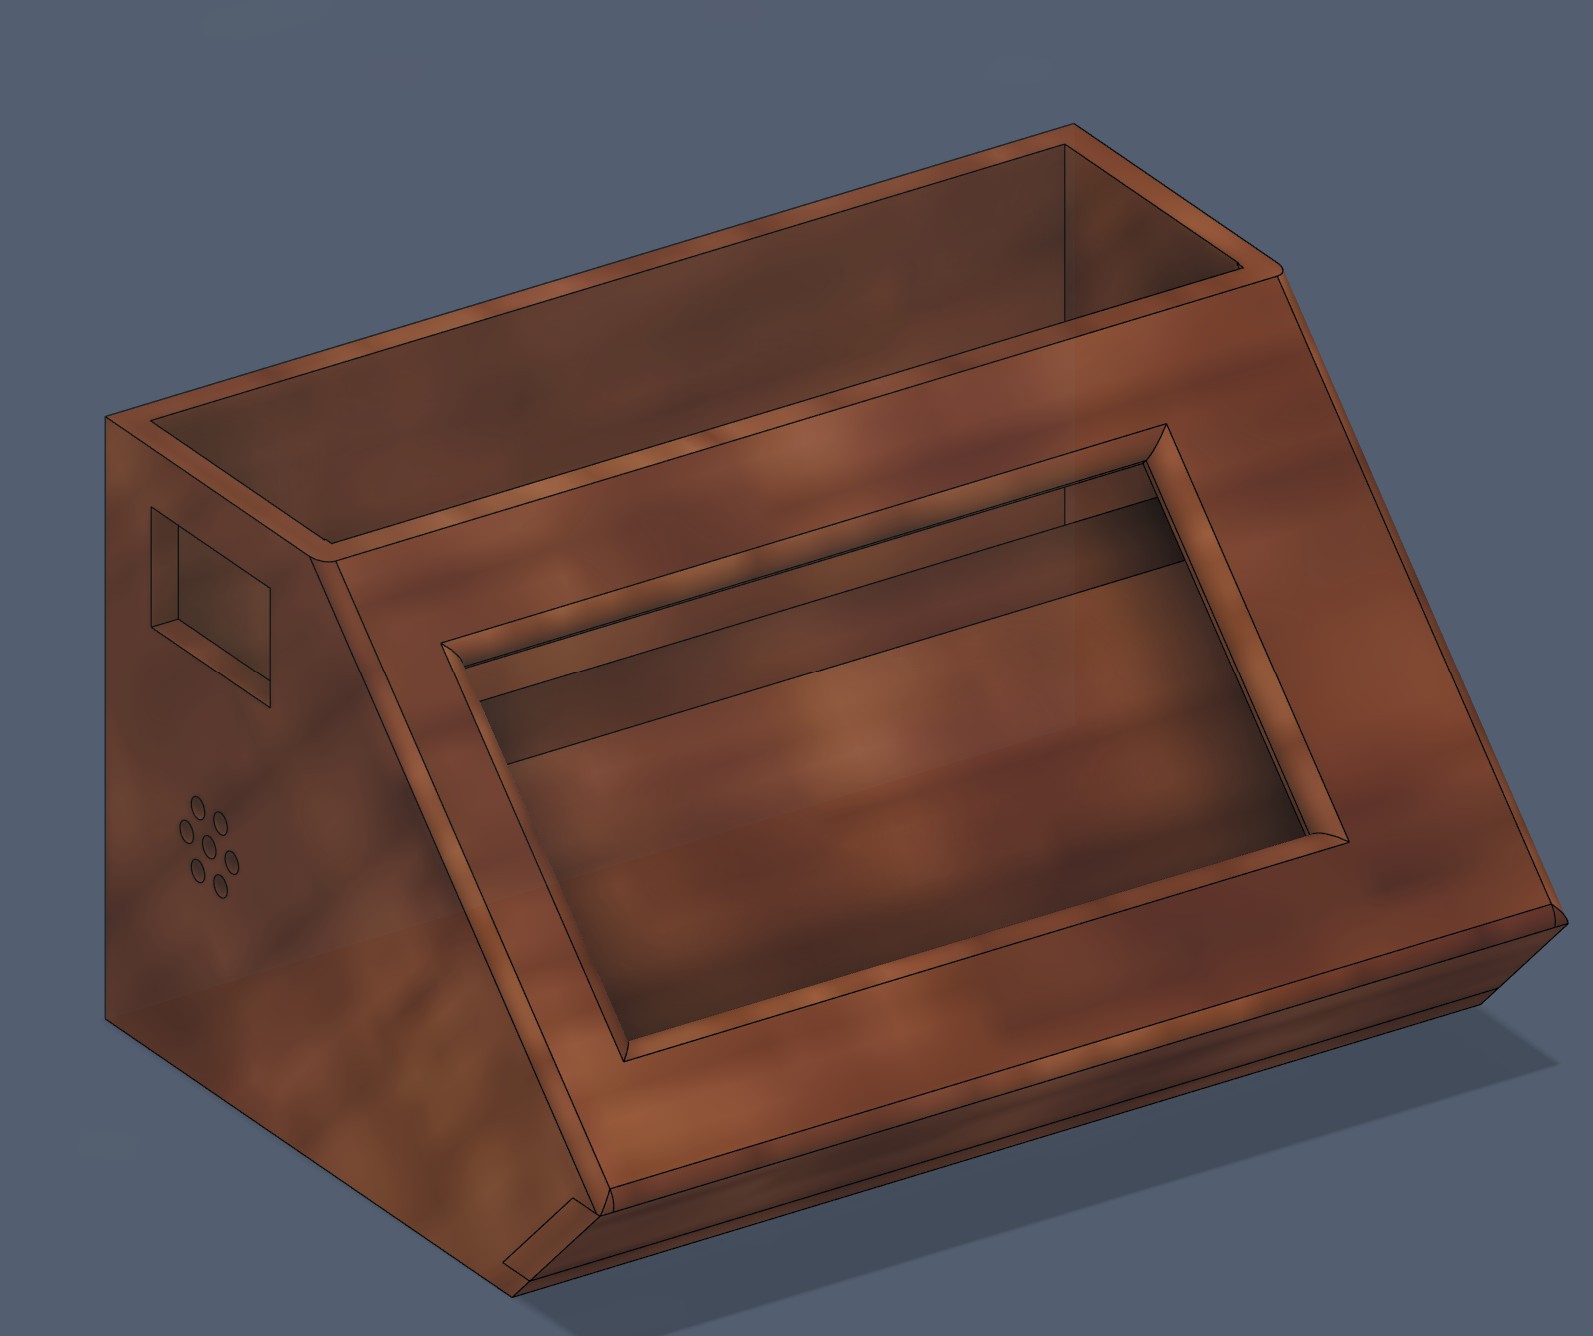
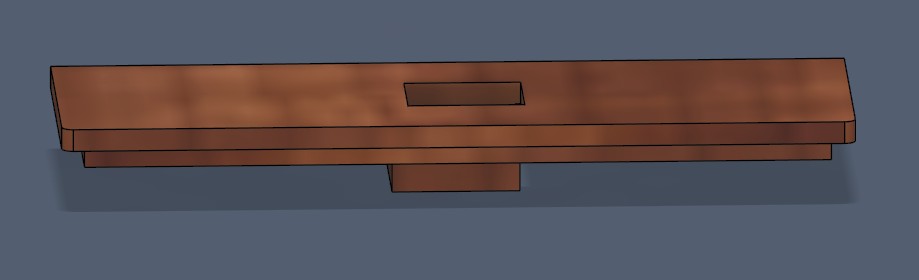
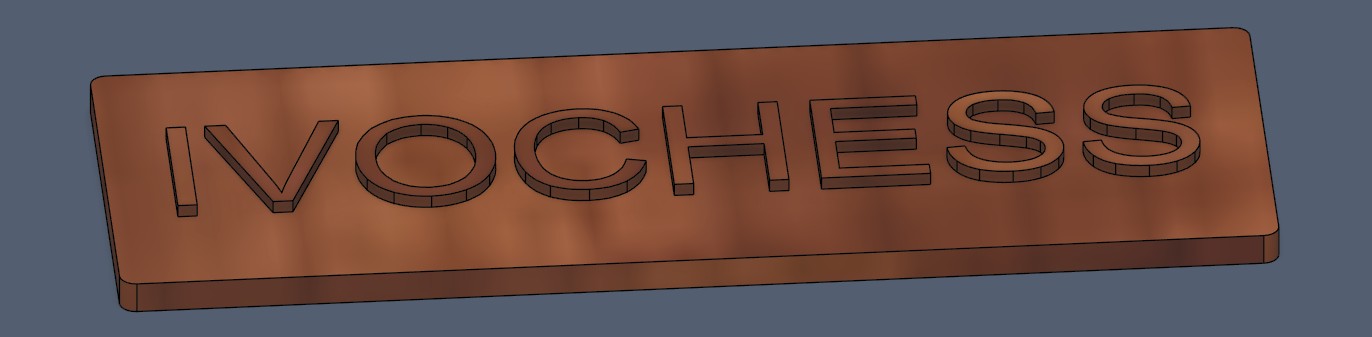
Final print result
What all six parts look like assembled together, before any electronics go in.
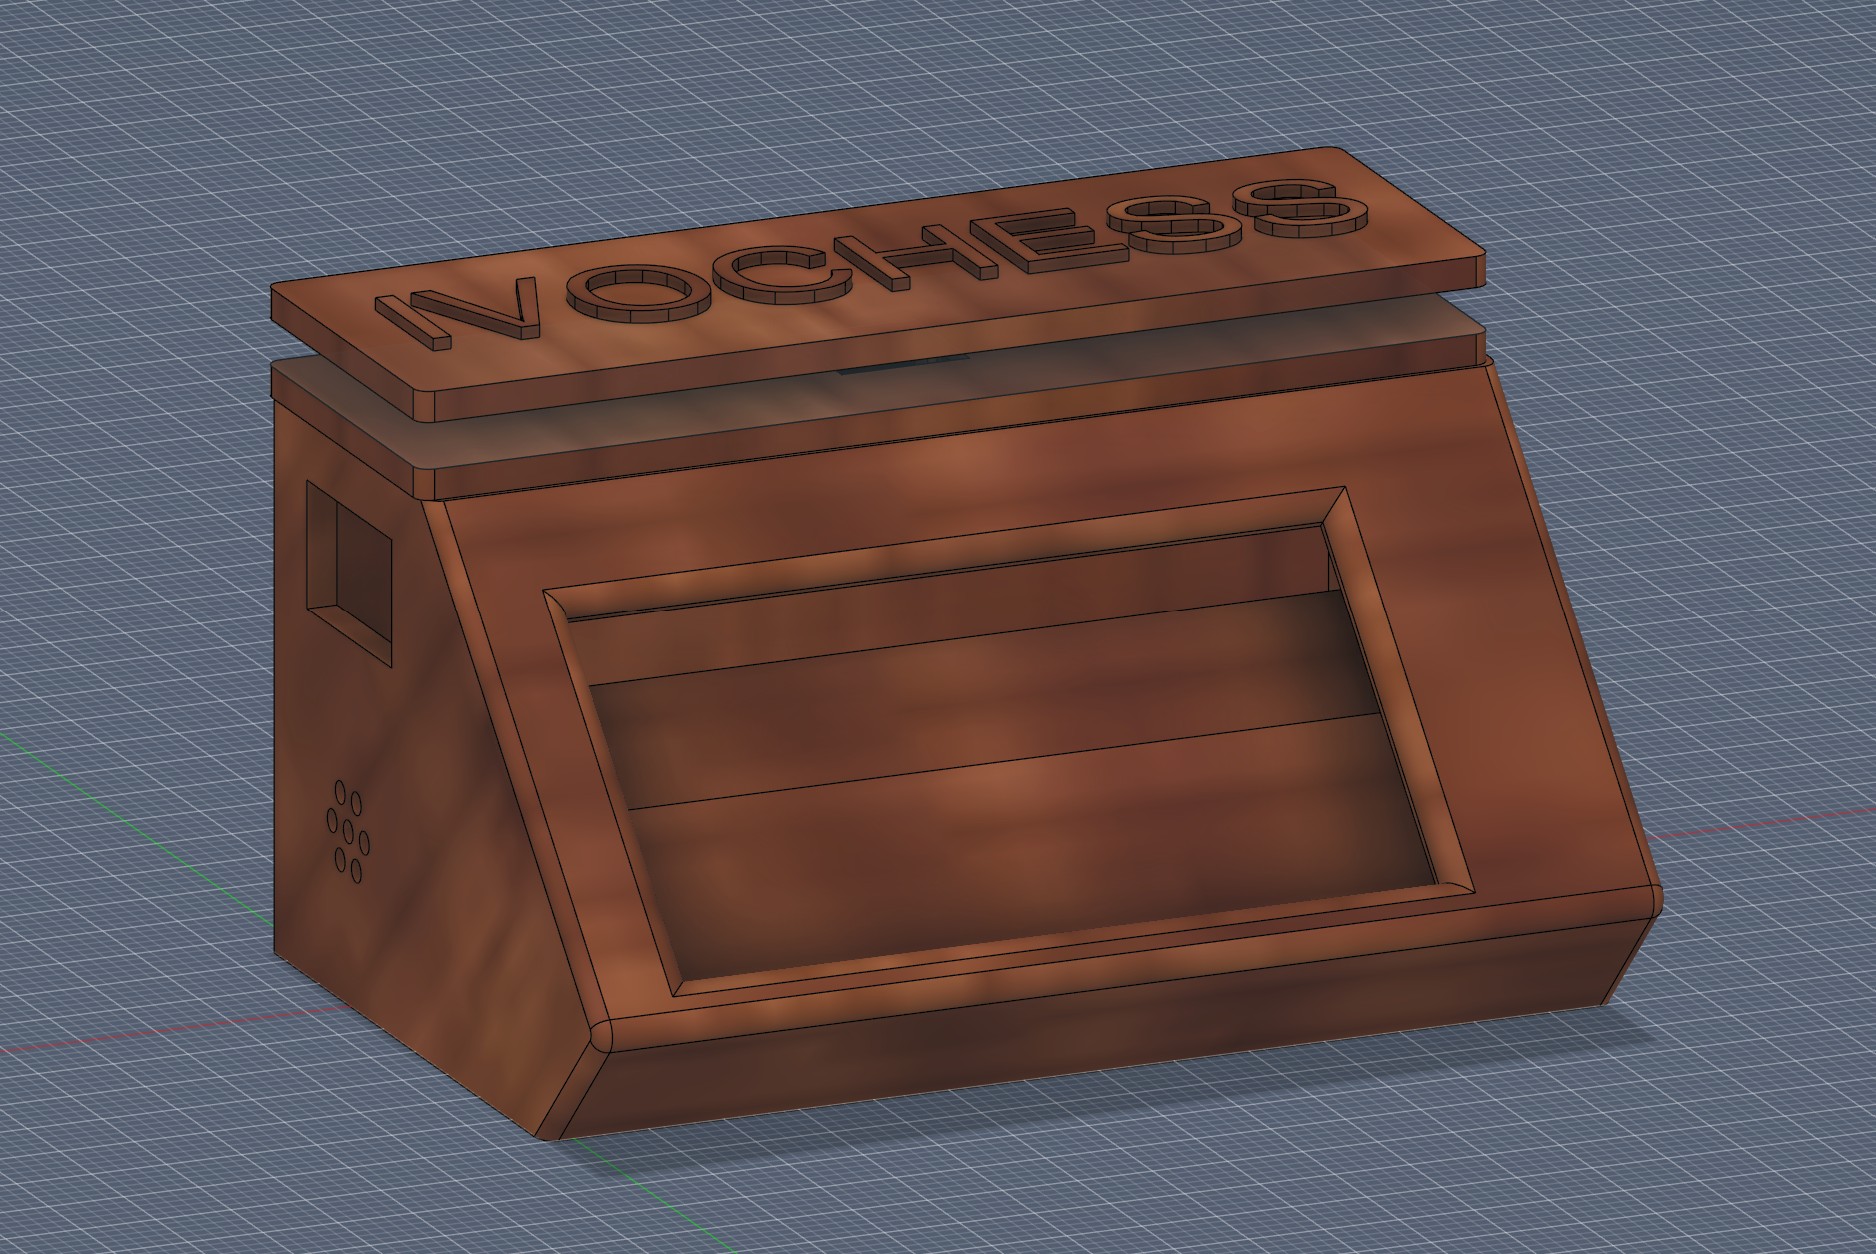
The case is printed as a set of six separate parts rather than one single piece. One of them — the LED diffuser — sits right over the LEDs and relies on the plastic itself to spread their light, so its filament color matters more than usual. Details below.
What all six parts look like assembled together, before any electronics go in.
Six parts, each its own STL file — print them separately rather than as one big model.
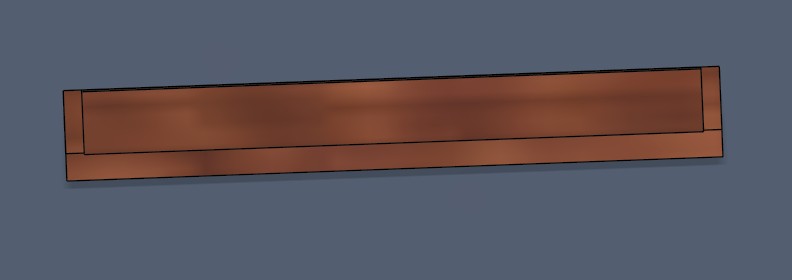
A thin insert that sits over the status LEDs and spreads their light evenly. Print this one in transparent filament for the best light effect — if you can't get transparent, white is the next best option.
Download STL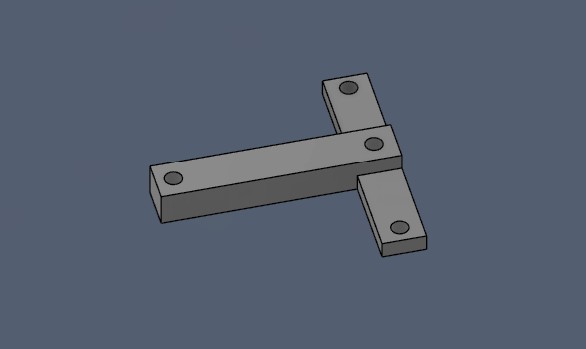
A small internal bracket that holds the microcontroller board fixed in place inside the case.
Download STL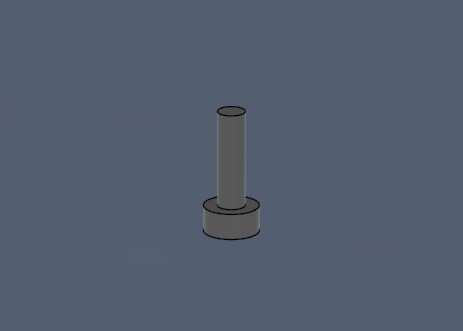
Two small pins that get glued onto the button part to complete the assembly — see the diagram below.
Download STLThe button pin part has two pins that don't get printed already attached — glue them on yourself, in exactly these two spots:
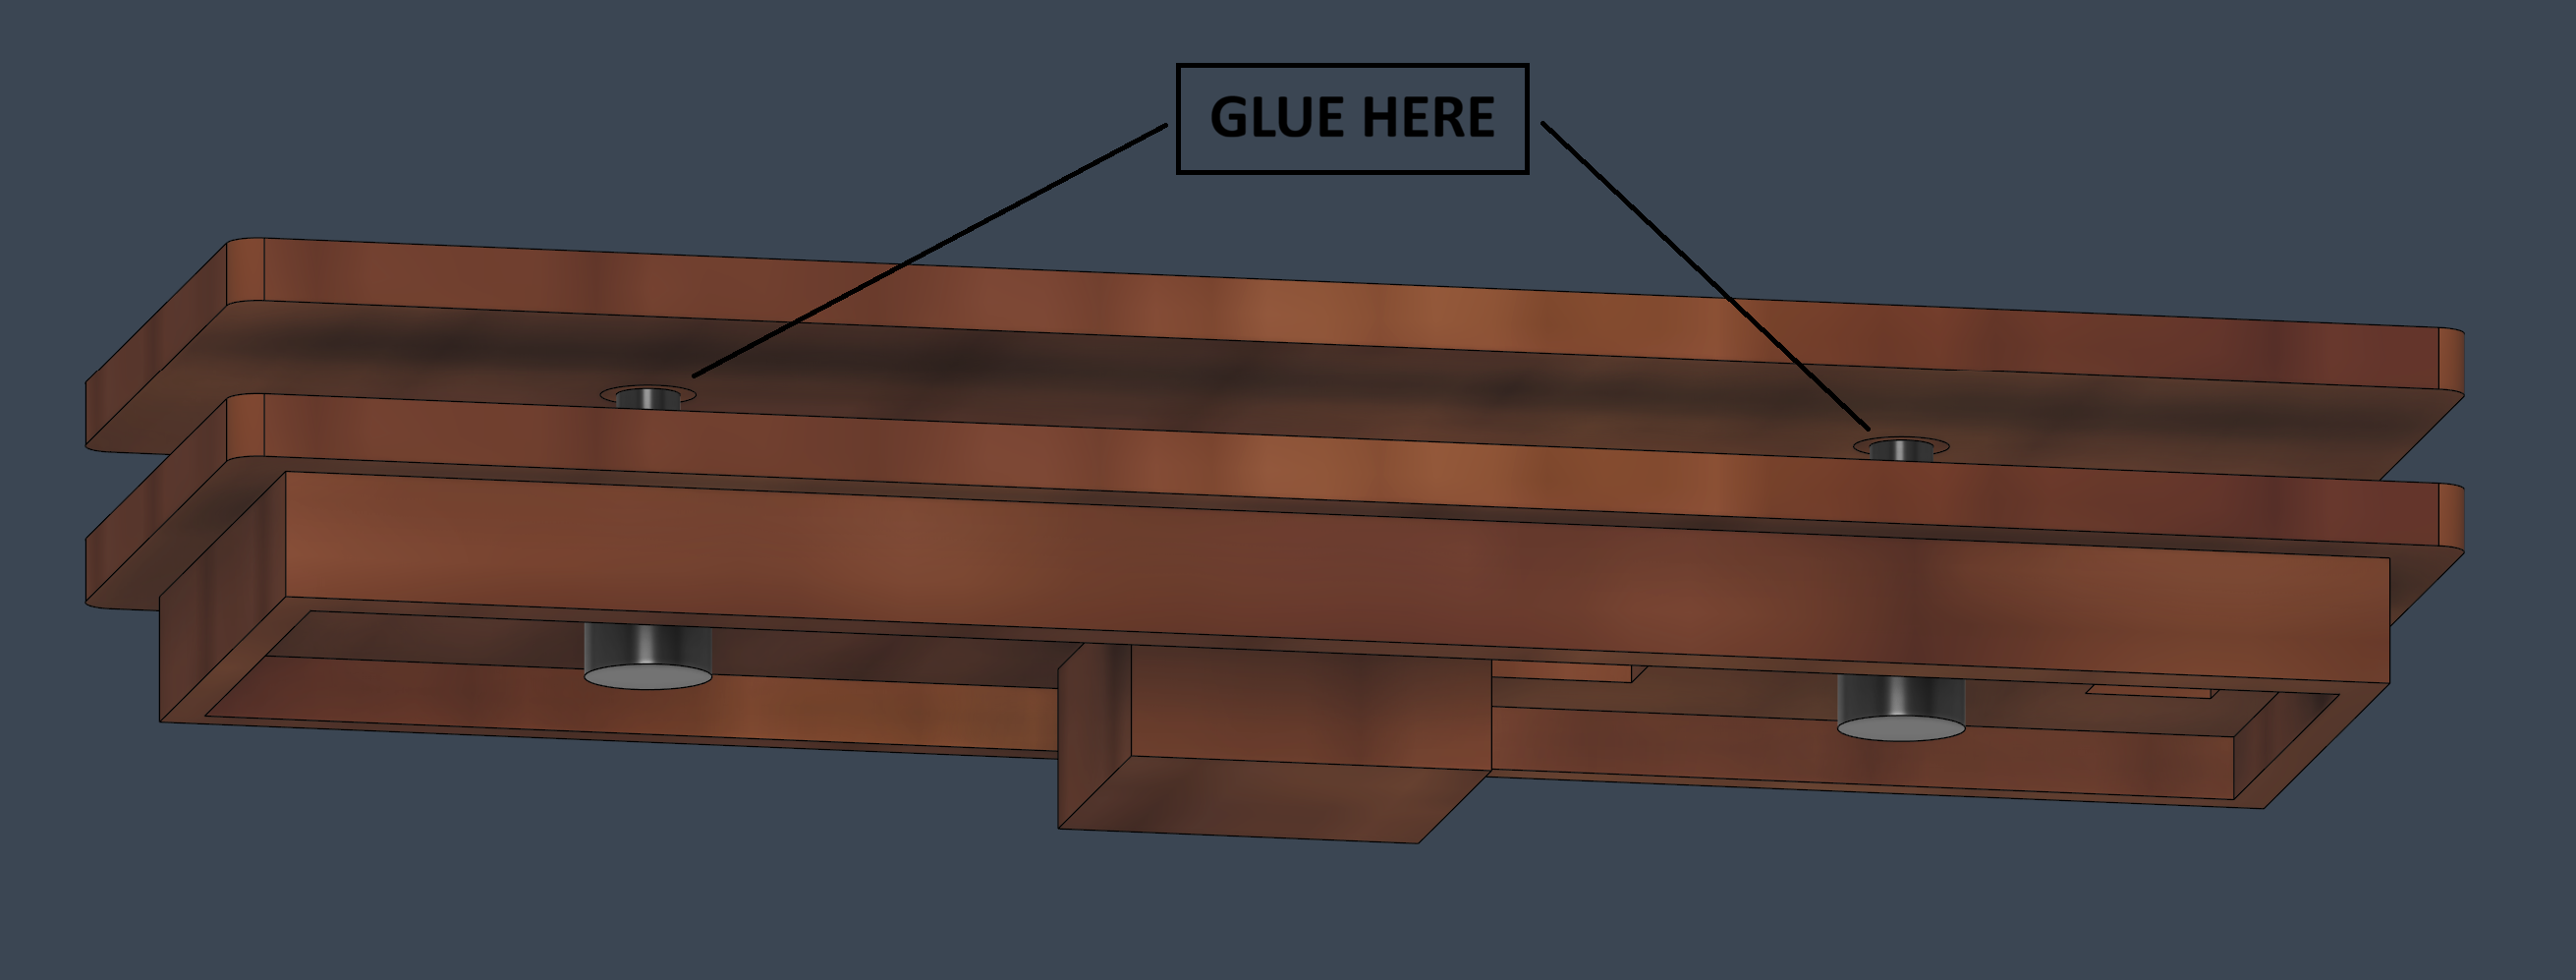
Glue both pins in the marked locations before fitting the button assembly into the case — a small dot of super glue or plastic-safe adhesive on each is enough.
What the original was printed in — easy to print, good detail, holds up fine for a desk accessory that doesn't see heat or rough handling.
Also a good choice if you'd prefer it — a bit tougher and more heat-resistant than PLA, slightly better light diffusion in some filament brands. Either works well here.
Nothing unusual here — none of these are mechanically demanding parts. Standard settings for your printer and filament work fine across all of them:
A one-piece, no-frills case for anyone who just wants the e-paper display and doesn't need the physical button, LEDs, or sound — a little smaller and lighter than the full v2.0 case.
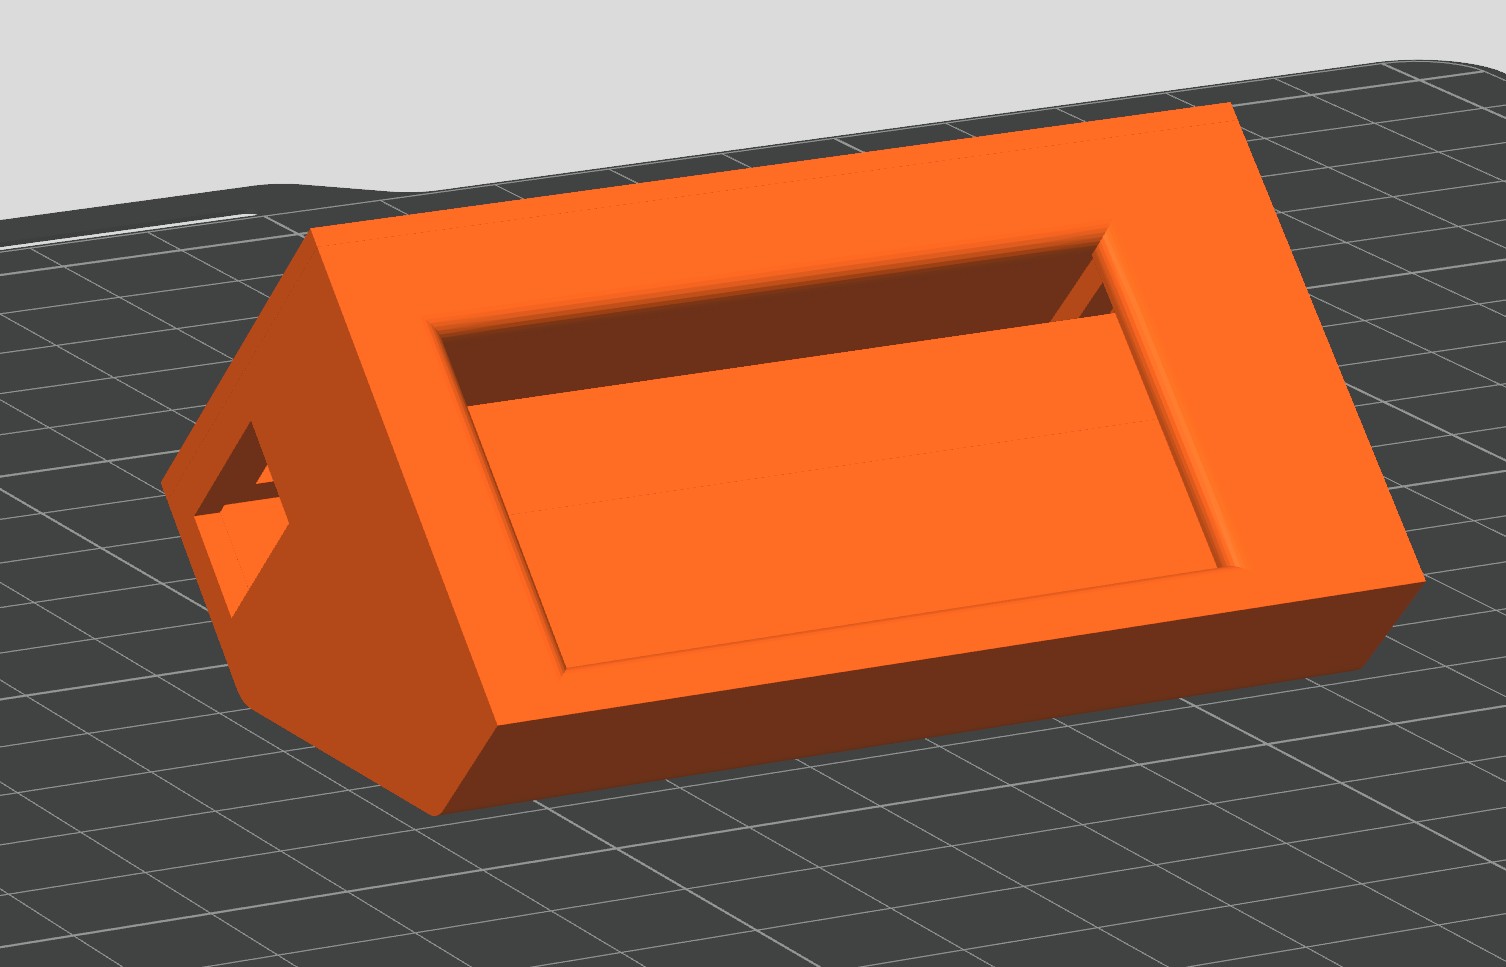
One STL, one print — no button, LED strip, or speaker to wire in, just the display, Wi-Fi, and battery. If you build this version, skip the button/LED/speaker parts on the hardware list and their wiring in the soldering guide.
Download STL